No one is ever prepared for when their air conditioner suddenly quits working in the middle of the summer heat. Even though it’s a situation that can easily (and understandably) cause you to panic, don’t. If you notice that your air conditioning doesn’t seem to be pumping out the amount of air it should be, start with simple troubleshooting before calling a professional. Sometimes, all it needs is a new HVAC filter change.
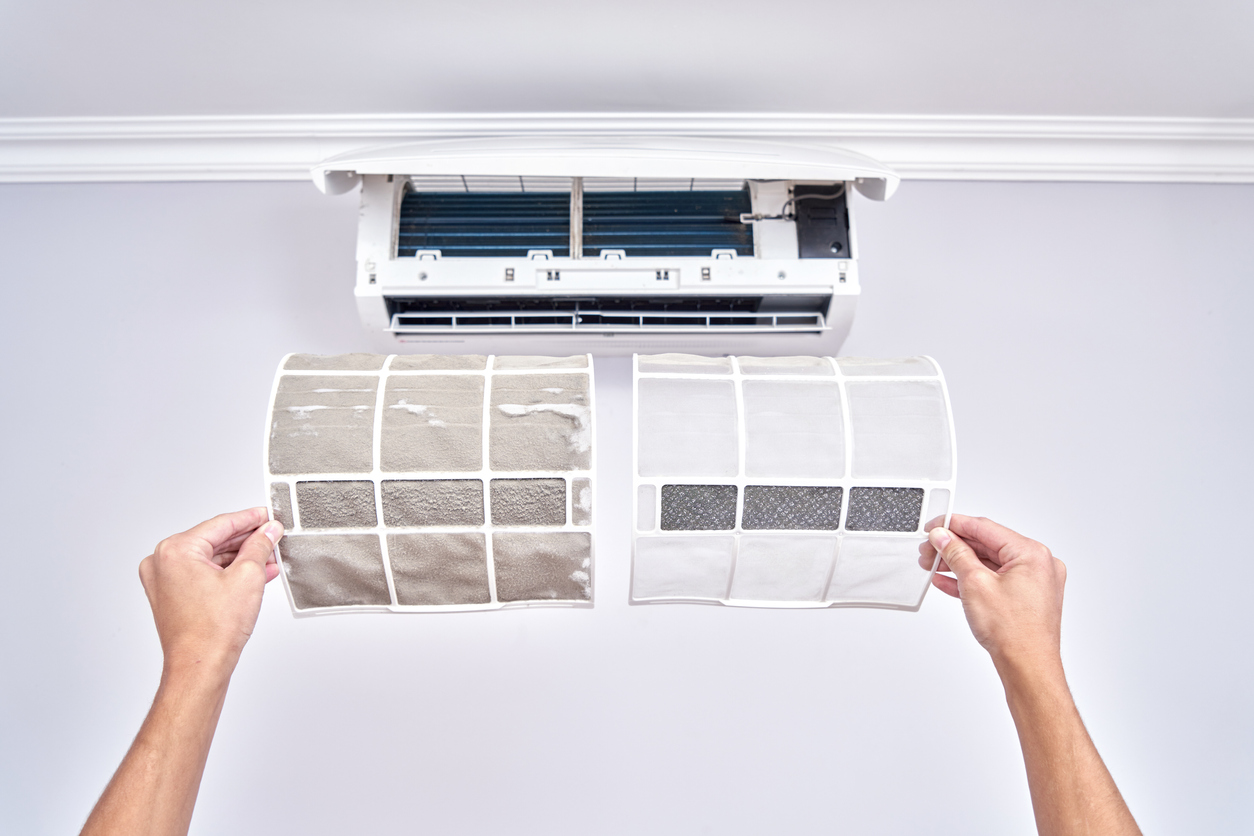
Effective filters can keep the air in your home cleaner by trapping pollutants, allergens, and debris and keeping your HVAC system running as efficiently as possible. A clear filter is able to keep the part of the system from clogging by trapping the foreign material that lingers in the air.
However, a clogged filter can reduce the airflow, causing your air conditioner to work much harder than it should. As a result, this can shorten its lifespan, increase energy usage and bills, and be detrimental to the environment.
How to Change Your HVAC Filter
Knowing what kind to use is one of the most important aspects of changing your furnace filter. Installing a filter with the correct size and rating is crucial to ensure the unit functions properly. If you currently have a filter in your unit, removing it and looking at the dimensions printed on the filter is the easiest way to garner this information. You’ll need to refer to the owner’s manual for the information if there is no filter currently.
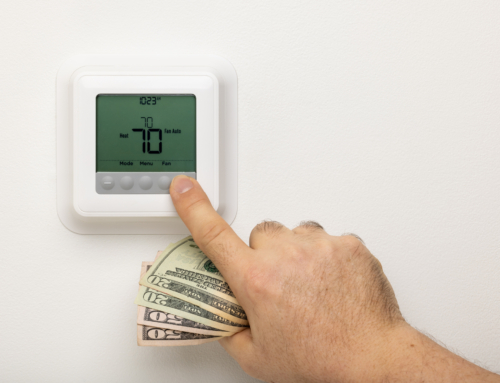
Step 1: Turn Off the HVAC System
You don’t want a bunch of air flowing through the system and the current filter while trying to remove that filter! You don’t have to turn your unit off completely; bumping the temperature on the thermostat up or down to get it to shut off will suffice.
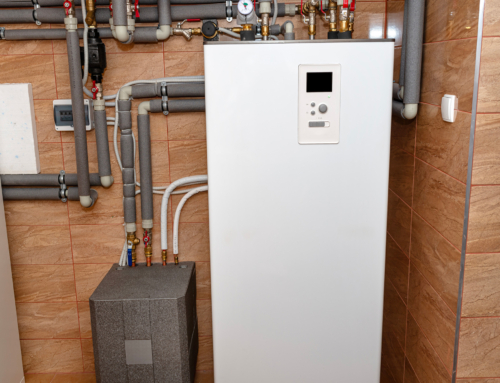
Step 2: Locate the Current Filter
If you don’t know where the filter is located, refer to the owner’s manual for information. Filters are not all located in the same spots with HVAC units; some are under the grille of return air registers, and others can even be in the wall for air-handler cabinets.
Many homes have a horizontal or up-flow system in the basement or attic. If you do, you most likely have a narrow 1”-wide filter rack. These racks usually have a removable door between the air distribution box and the furnace wall. Sliding the door open will reveal the compartment meant to house your filter.
Step 3: Remove the Filter
You may need to remove the screws that hold the lid in place; however, not all systems have screws. If you have a cover, remove it and wipe it down to remove some of the debris lingering there.
You should be able to see the filter (or at least one edge of it, depending on the specific type of system you have). Bring a trash bag with you if your filter hasn’t been changed in a while; you don’t want to drag a dusty, dirty filter through your house. Pull the current filter out, but pay attention to the arrows to ensure that you’ll know which way to insert the new filter.
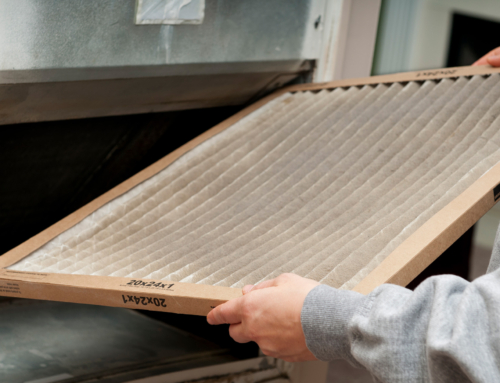
Step 4: Insert the New Filter
Take your new filter and insert it into the space from which you just removed the old one. Ensure the arrows on the new one face the same way as those on the old filter. If you put a filter in backward, it won’t be able to effectively trap dirt and pollutants. It’s also a good idea to write the date you installed it on the filter or a calendar. Filters should be replaced every 30-60 days, depending on usage.
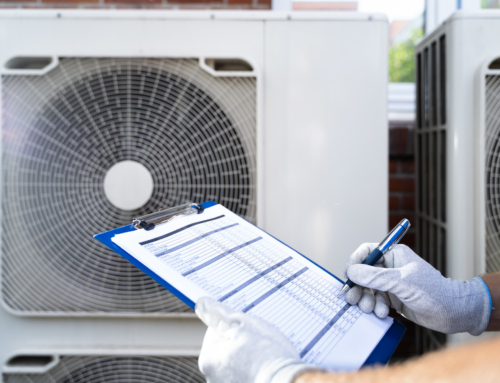
HVAC Maintenance and Repair in Vallejo
If you need to schedule HVAC maintenance or repairs for your system, contact A-1 Guaranteed Heating & Air, Inc. We provide all heating and air conditioning services throughout Vallejo, Vacaville, Fairfield, Solano, Napa, and Contra Costa counties and the entire Bay Area. Schedule your appointment with us today!